A DIY cricket net at home costs $150 to $400 in materials and takes about a weekend to build. Compared to $1,000+ for a pre-built portable net, the savings are significant. The trade-off is time and basic carpentry skill. If you already have a backyard practice area set up, adding a net upgrades it from informal practice to proper batting and bowling sessions. Here is the complete guide to building one.
What You Will Need
Materials for a basic 10-metre by 3-metre net enclosure:
Item | Quantity | Approximate Cost |
|---|---|---|
Cricket netting (knotless polyester) | 40-50 sq metres | $80 - $150 |
Galvanised steel poles or wooden posts (3m tall) | 6-8 poles | $60 - $150 |
Concrete mix (for post bases) | 4-6 bags | $30 - $50 |
Heavy-duty cable ties or rope | 1 pack of 100 | $10 - $20 |
Pulley clips or carabiners | 10-15 | $15 - $30 |
Top tension cable / steel wire | 15-20m | $20 - $40 |
Total cost: $215 - $440 depending on quality and where you buy. Source poles from hardware stores and netting from sports equipment suppliers.
Tools Required
Post hole digger or auger for setting poles in concrete
Spirit level to keep poles vertical
Tape measure for accurate dimensions
Wheelbarrow for mixing concrete
Cable cutters or wire cutters
Drill if attaching to existing structures
Step 1: Choose the Location and Mark It Out
The ideal home cricket net is 10-12 metres long and 3 metres wide. This is shorter than a real pitch (22 yards = 20 metres) but works fine for batting practice with throwdowns or medium-pace bowling. For full-pace bowling practice, aim for the full 20 metres if your yard allows.
Mark a flat area, ideally level grass or a hard surface
Allow 2-3 metres clearance behind the bowler's end for run-up
Position the net so balls do not fly toward windows or fences
Check overhead clearance, you need at least 3 metres of vertical space for the netting
Step 2: Set the Posts
You need at least 6 posts to support a basic cage:
4 corner posts for the rectangular footprint
2 mid-span posts on each long side to prevent netting sag
For each post:
Dig a hole 60-80cm deep with a post hole digger
Place the post upright, check with a spirit level
Pour concrete mix and add water as instructions specify
Hold or brace the post upright until concrete sets (about 1 hour)
Allow 24-48 hours full curing time before adding weight
Step 3: Run the Top Tension Cables
Once posts are set:
Run a steel cable along the top perimeter connecting all posts
Add a centre cable from front to back across the top to support the roof of the net
Use turnbuckles or tensioning hooks to keep cables taut
This cable system stops the netting from sagging in the middle and gives you the proper enclosed cage shape.
Step 4: Attach the Netting
Use knotless polyester cricket netting with mesh size of 2 to 2.5 inches (small enough to stop a cricket ball). Avoid agricultural netting or thinner mesh.
Drape the netting over the top tension cables to form the roof
Bring it down on all 4 sides, leaving the front (batting end) open
Secure with heavy-duty cable ties or rope every 30-40cm along the cables and posts
Pull the netting slightly taut but not so tight it stretches and weakens
Bury or weight the bottom edge of the netting to stop balls escaping under
The front (batting end) usually stays open for the batter to walk in, with one full side covered to stop balls from leaving.
Step 5: The Pitch Surface
For the bowling and batting strip:
Cricket pitch matting: Roll-out artificial pitch, $80-$200, gives proper bounce
Concrete slab with mat: Permanent and bouncy, but expensive to install
Compressed grass / earth pitch: Cheapest, but bounce varies and degrades quickly
Astroturf: Lower bounce than matting but consistent and durable
Most home setups use roll-out cricket matting over compacted earth. Cheap, portable, and gives a realistic playing surface.
From experience: When I built a home practice setup at a friend's farmhouse during off-season, we cut corners on the netting and used cheaper agricultural mesh. Within two months it had holes from leather ball impacts. We replaced it with proper cricket netting and the second version is still holding up years later. Do not save money on the net itself, that is what determines whether the build lasts one season or five.
Safety Considerations
Always practice with a helmet if facing pace, even in a home net. Safety rules apply at home too
Never have spectators inside the net while batting
Check netting weekly for tears or weak spots
Make sure poles are set deep enough in concrete to handle wind loads
Have a clear policy for kids and pets, especially if the net is in a backyard
What This Net Lets You Do?

A home DIY net allows:
Batting practice with throwdowns (bowler standing 14-18m away with a sidearm or hand throw)
Medium-pace bowling practice
Spin bowling sessions
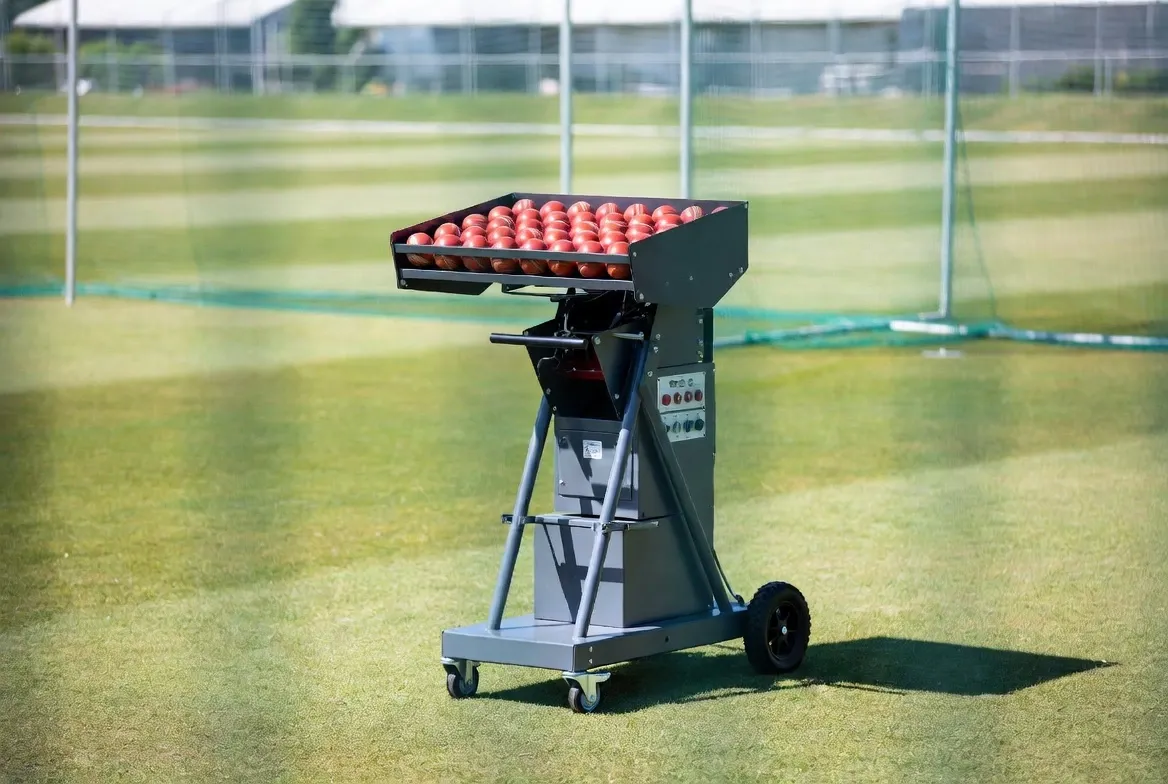
Bowling machine setup if the budget allows
Catching and reaction drills using the netting as a rebound surface
It does not replace proper club nets, but for daily practice without travelling, it is a major upgrade.
Conclusion
Building a DIY cricket net at home is a weekend project that pays back hundreds of dollars in saved coaching fees and net hire costs. The key components are good netting, properly set posts, and a flat surface. Combined with a proper backyard practice area and the right gear (covered in our cricket kit checklist), you have everything needed for serious home practice. For pure batting practice with the family, our guide on backyard cricket rules covers the fun side without the equipment investment.
Credit: My cricket buddy
FAQs
How much does a DIY cricket net cost to build?
Around $215 to $440 in materials for a basic 10m x 3m enclosure. Compare to $1,000+ for a pre-built portable net.
What size should a backyard cricket net be?
Ideally 10-12 metres long by 3 metres wide. For full-pace bowling, aim for 20 metres long if your yard allows.
Can I use agricultural netting for a cricket net?
No. Cricket-specific knotless polyester netting is needed. Agricultural mesh tears under leather ball impacts within weeks.