You don't need a full-size ground to practice cricket. A well-set-up backyard cricket practice area is enough for batting, bowling, and catching drills. Some of the best players in the world developed their skills in small backyards and rooftops with basic setups. Whether you have a large garden or a compact space, you can build a functional practice area with the right equipment. Here's how to set one up, what it costs, and what to watch out for.
Space Requirements
- Minimum length: 15-20 metres (for bowling run-up + pitch)
- Minimum width: 3 metres
- Height clearance: 3+ metres (for nets)
Even 10 metres is enough for batting practice with throwdowns or a bowling machine.
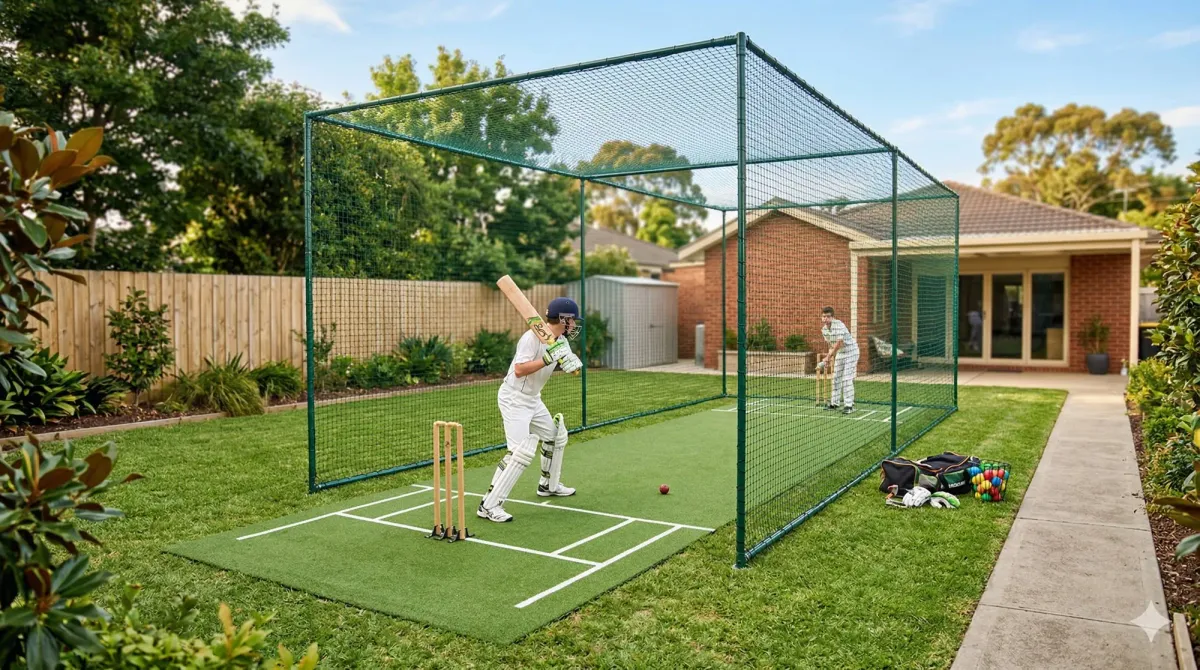
Option 1: Full Net Setup
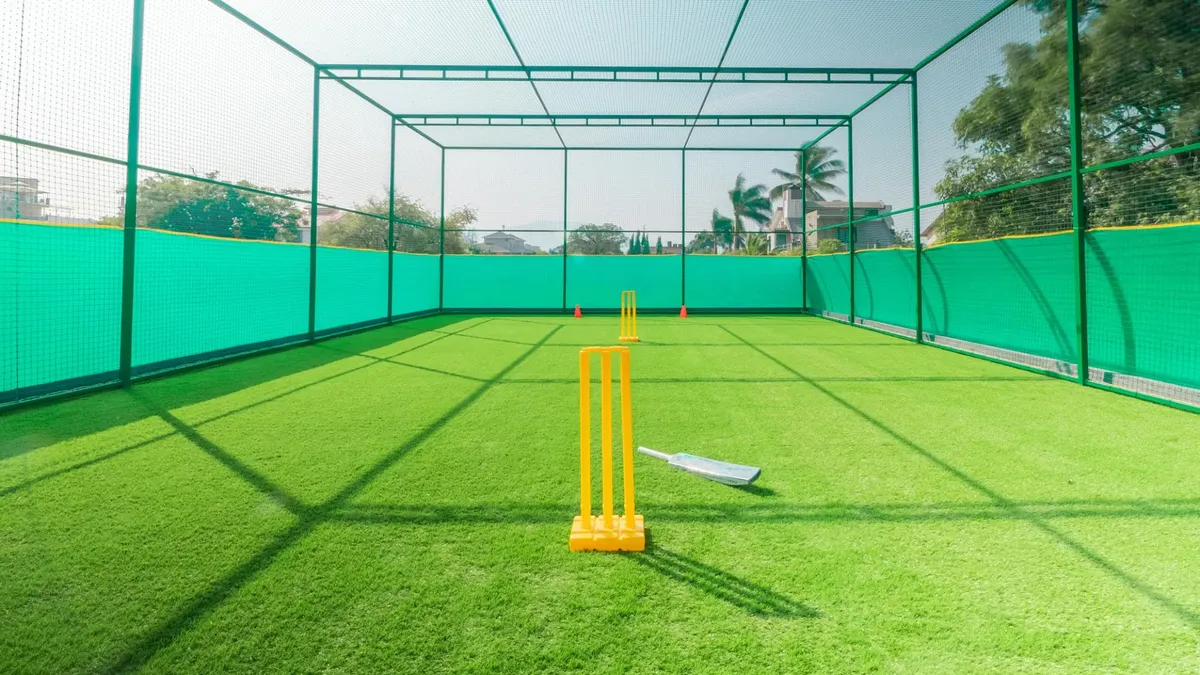
A permanent net is the best backyard cricket practice area for serious players.
What You Need:
- 4-6 steel or aluminium poles, at least 3 metres tall
- Cricket netting, UV-resistant, weatherproof polyethylene with 40-50mm mesh (smaller mesh stops fast balls better)
- Ground anchors or concrete bases for pole stability
- Cable ties or hooks to attach netting
Setup:
- Mark out your net area on flat, level ground
- Dig holes 30-50 cm deep for each pole
- Set poles in concrete or use heavy sandbag bases for portable setup
- Drape netting over the top and down all three sides (back + both sides)
- Leave the front open for the bowler's entry
Cost: A DIY net setup costs roughly $180 - $350 depending on materials.
Option 2: Portable Net (Budget-Friendly)
Pop-up or foldable cricket nets are available for $100 - $250. They're lighter, easy to store, and good enough for casual practice.
The Pitch Surface
- Best: Cricket pitch mat (coir or artificial turf), $35 - $120
- Good: Artificial turf roll laid on flat ground
- Budget: Concrete strip with a rubber mat on top
- Avoid: Bare grass (gets destroyed fast) or uneven ground (dangerous bounce)
Essential Equipment
| Item | Purpose | Budget |
|---|---|---|
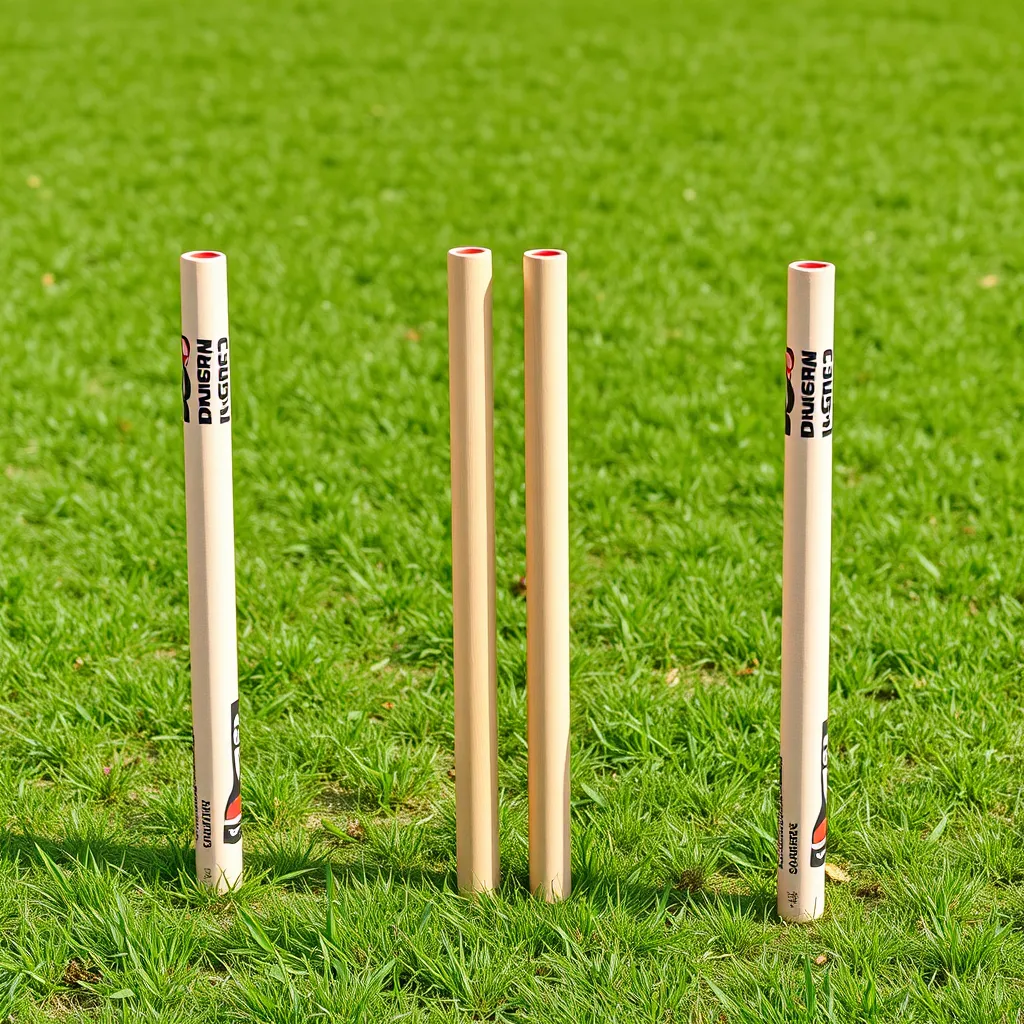
| Spring-back stumps | Target for bowling, don't break | $18 - $35 |
| Throwdown balls (6-12) | Batting practice | $6 - $18 |
| Catching cradle/rebounder | Solo catching drills | $35 - $100 |
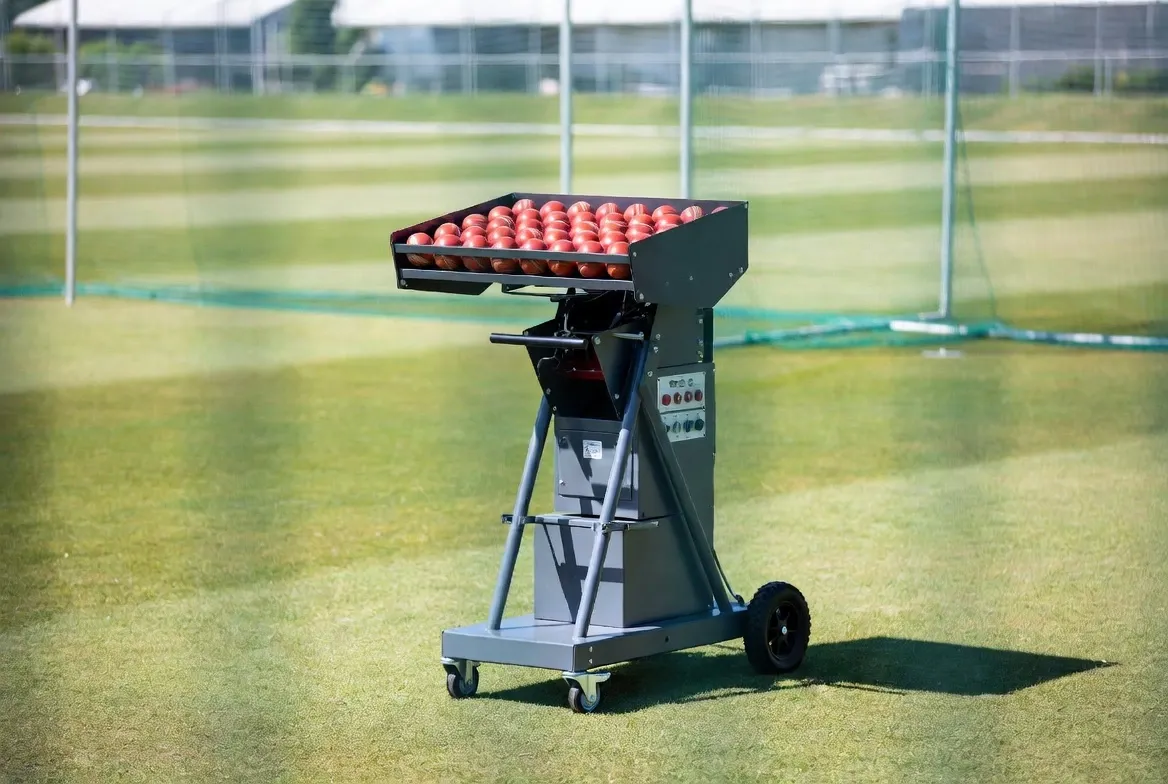
| Bowling machine (optional) | Consistent practice | $180+ |
| Cricket pitch mat | Realistic bounce on any surface | $35 - $120 |
From experience: During my early training days, we had a concrete strip with a coir mat and a basic net. Nothing fancy, but I spent hundreds of hours there. The key isn't the setup, it's consistent practice.
Safety Tips for Your Backyard Cricket Practice Area
- Check for windows, cars, and neighbours within striking distance
- Use ball stop netting at the back if there's risk of balls leaving your property
- Secure poles properly, a falling pole can cause serious injury
- Inspect nets regularly for holes, a ball through a hole at speed is dangerous
- Add basic floodlights for evening practice, even a couple of halogen lamps make a difference
- A side screen (even a white bedsheet on a frame) helps the batsman sight the ball clearly
Watch: DIY Cricket Net Setup
Credit: Backyard Cricket UK
Conclusion
You don't need a professional setup to improve your game. A basic net, a pitch mat, and some spring-back stumps are enough to build a functional backyard cricket practice area. Start simple, practice consistently, and upgrade as your needs grow.
FAQs
How much space do I need for backyard cricket nets?
Minimum 15m x 3m for a functional setup. Even 10m works for batting-only practice with throwdowns.
Can I set up nets on concrete?
Yes, lay a cricket mat or artificial turf on top for realistic bounce. Pure concrete gives dangerously unpredictable bounce. If outdoor space is limited, consider converting a garage into an indoor cricket setup, even a short batting cage works for technique drills.
What's the cheapest way to practice at home?
A spring-back stump set and a bag of throwdown balls against a wall or garage. Total cost under $30.