Knowing how to knock in a cricket bat is the most important step before using it. A brand new bat has soft, uncompressed willow that is not ready for hard leather balls. Skip this step and you risk cracked edges, dented faces, and a ruined investment. I have knocked in dozens of bats over my career, from U16 all the way to senior district cricket. In this guide, I will walk you through the exact oiling, knocking, and testing process that works every time.
What Is Knocking In and Why Does It Matter?
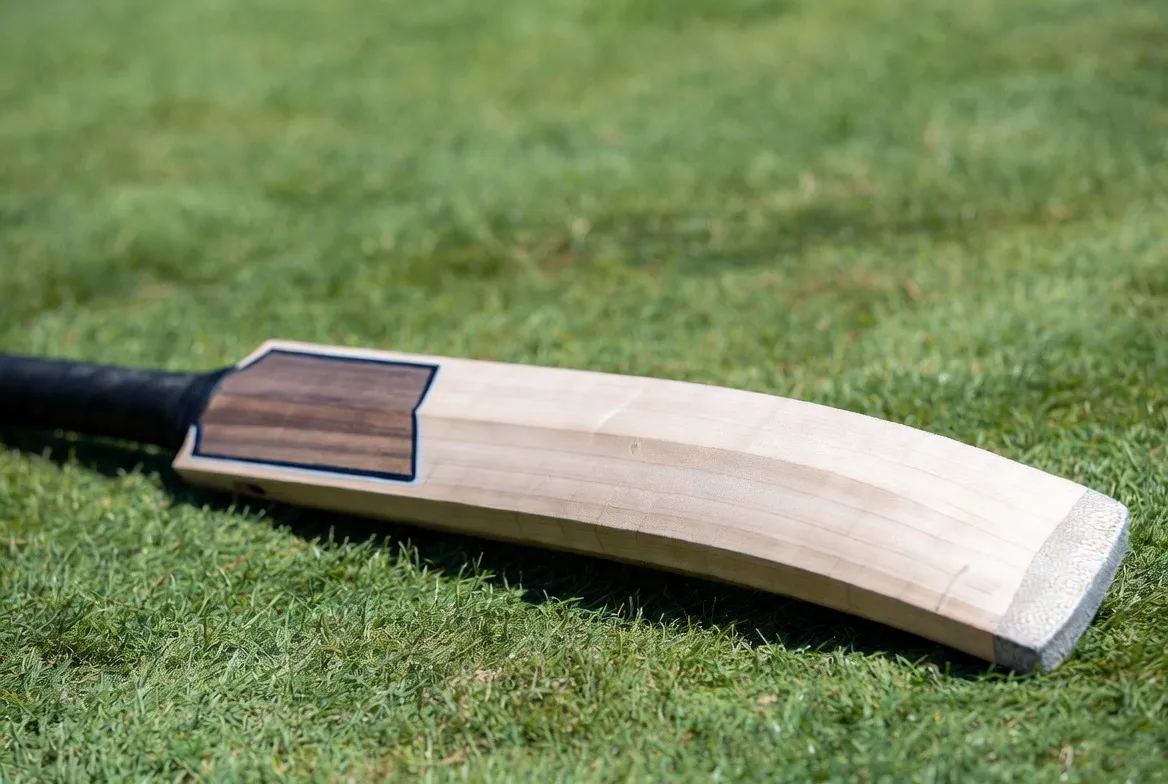
Knocking in is the process of compressing the soft willow fibres on the bat's face and edges using a mallet. A new bat - whether English willow or Kashmir willow - comes with raw, uncompressed wood straight out of the wrapper. If you face a hard leather ball without preparation, the fibres will crack and split instead of flexing.
A properly knocked-in bat:
Develops a harder surface while keeping the middle springy
Has rounded, reinforced edges that resist damage
Lasts significantly longer - a well-prepared bat can last 1,000+ runs
From experience: I've seen brand new $300+ bats crack in the first net session because the owner skipped knocking in. Don't be that person.
What You Need
A bat mallet - hardwood with a round head (best option)
Raw linseed oil - not boiled, not synthetic
A soft cloth
An old cricket ball (for testing later)
No mallet? An old cricket ball in a sock works - but it takes roughly 10 hours compared to 6 hours with a proper mallet.
Step 1: Oil the Bat
Before any knocking, you need to oil the willow to prevent it from drying out and cracking.
Apply 1 teaspoon of raw linseed oil to the face, edges, toe, and back
Avoid the splice and handle - oil weakens the glue
Lay the bat flat, face up, and let it dry for 24 hours
Repeat 2-3 coats total, with 24 hours drying between each
Important: Don't over-oil. More than 3 coats makes the bat heavy and softens the wood too much. You want conditioned, not soaked.
Step 2: Knock In the Face
Hold the bat upright on a stable surface (carpet or mat - never concrete)
Start with gentle taps on the middle of the face
Gradually increase force over 10-15 minute sessions
Cover the entire face evenly - don't just hit one spot
The face is ready when the mallet stops leaving visible dents
Spend at least 2-3 hours on the face alone, spread across multiple sessions.
Step 3: Knock In the Edges
This is where most bats fail - edges take the most damage during play and need the most attention.
Strike the edges at a 45-degree angle to the face
Never hit edges straight on at 90 degrees - this can crack the wood
Work along the full length of both edges
The edges should become slightly rounded and smooth
Give the edges at least 1-2 hours of dedicated work.
Step 4: Test Your Bat
After 4-6 hours total of knocking in:
Do the fingernail test - press your thumbnail into the face. If it leaves a deep mark easily, keep knocking
Hit a few catches with an old ball in the nets
Check the face: deep seam marks = not ready. Barely visible marks = good to go
What About Pre-Knocked Bats?
Many bats sold as "pre-knocked" or "machine knocked" are not fully prepared. Factory machine knocking usually covers about 2 hours' worth of work and doesn't properly compress the edges.
You still need to knock in a pre-knocked bat for at least 2-3 additional hours by hand.
Can You Over-Knock a Bat?
Technically yes, but it's unlikely with normal effort. Over-knocking compresses fibres so much they lose their natural spring - meaning less power. In practice, under-knocking is a far bigger risk than over-knocking. When in doubt, keep going.
5 Common Mistakes When You Knock In a Cricket Bat
Skipping the oiling step - dry willow cracks faster
Hitting edges at 90 degrees - always use 45-degree angle
Rushing the process - spread it over several days, not one session
Using a new ball to test - always test with an old, soft ball first
Forgetting the toe - the toe area is fragile and needs attention too
Once knocking in is complete, consider applying a toe guard for extra toe protection and an anti-scuff sheet on the face to preserve the surface during play.
Quick Summary - Knock In a Cricket Bat the Right Way
Step | Time Needed | Key Point |
|---|---|---|
Oiling | 2-3 days (coats) | Raw linseed only, 2-3 coats |
Face knocking | 2-3 hours | Light to firm, full coverage |
Edge knocking | 1-2 hours | 45° angle, round them off |
Testing | 30 min | Fingernail test + old ball |
Watch: How to Knock In a Cricket Bat
Credit: Gray-Nicolls
Conclusion
Knocking in a cricket bat takes patience, but it's the difference between a bat that lasts one season and one that serves you for years. Oil it, knock the face and edges properly, test it with an old ball, and you're match-ready. Make sure you also have the right bat size for your height. Skip this step and you're gambling with your investment.
Conclusion
Knocking in a cricket bat takes patience, but it's the difference between a bat that lasts one season and one that serves you for years. Oil it, knock the face and edges properly, test it with an old ball, and you're match-ready. Skip this step and you're gambling with your investment.
FAQs
How long does it take to knock in a cricket bat?
4-6 hours total with a mallet, spread over several days. With a ball in a sock, expect closer to 10 hours.
Can I use my bat without knocking it in?
No. An un-knocked bat will dent, crack, and potentially split when facing a hard leather ball.
Do I need to knock in a Kashmir willow bat?
Yes - Kashmir willow is actually harder and denser than English willow, but still needs knocking in to compress the surface fibres and protect the edges.
Should I re-knock my bat before a new season?
Give it a light 30-minute session with the mallet and a fresh coat of oil before each new season. This re-conditions the surface.
What's the difference between machine knocking and hand knocking?
Machine knocking gives initial compression but misses the edges and toe. Hand knocking is more thorough and gives even coverage. The best preparation uses both.